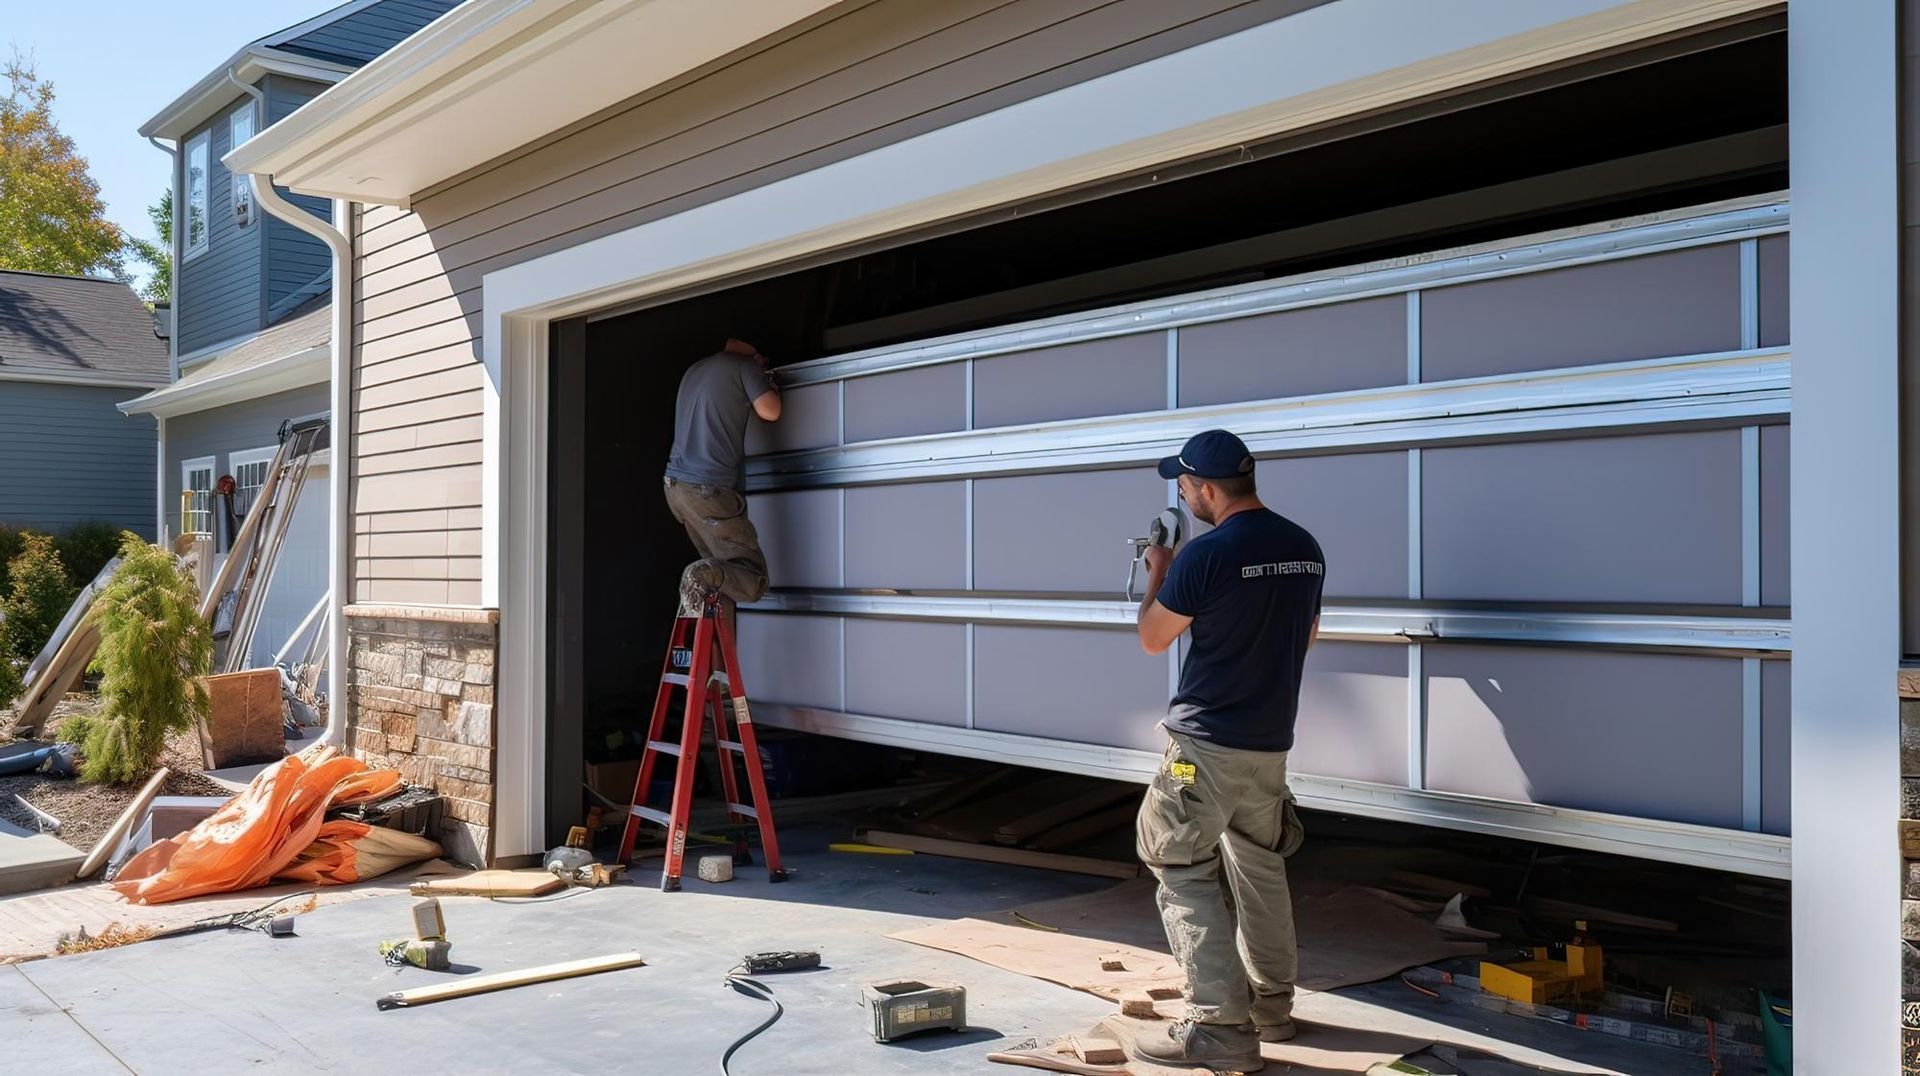
What to Expect During a Garage Door Installation
Installing a new garage door is a significant investment in your home’s security, functionality, and curb appeal. Whether you’re upgrading an old, worn-out door or installing one for the first time, understanding the process can help ease concerns and set realistic expectations. For a secure, swift, and accurate garage door installation, rely on a skilled team. Here's a glimpse into the typical steps involved when professionals handle the task.
1. Pre-Installation Preparation
Before the garage door installation begins, there are several preparatory steps that must be taken. This stage ensures that the installation goes smoothly and prevents unexpected delays.
Site Inspection and Measurements
A professional overhead garage door company will conduct an inspection of your garage opening. This includes measuring the dimensions, checking the structural integrity of the walls and ceiling, and ensuring that the space is free from obstructions. Proper measurements help in selecting the right door size and type.
Choosing the Right Garage Door
Choosing a new garage door offers a wide array of possibilities. A knowledgeable installer will guide you through the selection, helping you match materials, styles, insulation, and features to your specific requirements, aesthetic tastes, and financial plan. Popular materials include:
- Steel: Durable and low-maintenance, available in various finishes.
- Wood: Offers a classic look but requires more upkeep.
- Aluminum: Perfect for damp environments, these doors are light and won't rust.
- Composite: A blend of materials that provides strength and aesthetic appeal.
Additionally, you can choose between insulated and non-insulated doors, depending on your climate and garage usage. Doors with insulation provide benefits like improved energy savings and quieter operation.
Scheduling the Installation
Once the door has been selected and ordered, your installation appointment will be scheduled. The lead time for some garage doors, especially custom designs, may vary depending on availability. Standard doors usually arrive within a few days, whereas custom doors may take weeks.
2. The Removal of the Old Garage Door
If you are replacing an existing door, the old one must be removed carefully. This step requires expertise to ensure safety and avoid damage to your garage structure.
Disconnecting the Garage Door Opener
Before dismantling the old door, the installer will disconnect the garage door opener. This prevents accidental operation and ensures safety during removal. The electrical wiring and remote settings will also be checked.
Taking Down the Door Panels
Garage doors are typically removed in sections, starting from the top and working downward. This process prevents the risk of heavy panels falling unexpectedly and causing damage or injury.
Removing the Old Tracks and Hardware
All old hardware, including the tracks, springs, and cables, will be detached and properly disposed of or recycled, depending on the materials. Removing outdated or worn components ensures that the new system operates efficiently.
3. Installing the New Garage Door
The actual garage door installation begins once the old door and hardware are removed. This phase includes precise setup and alignment to ensure smooth operation.
Installing the New Tracks and Hardware
Fresh tracks, supports, and fittings will be firmly attached. The installer ensures that everything is level and properly aligned to prevent operational issues. Improperly aligned tracks can lead to a stuck or unevenly moving garage door.
Assembling and Attaching the Door Panels
The garage door is installed panel by panel, starting from the bottom. Each section is secured and connected with hinges to allow smooth movement. Windows, decorative elements, and insulation layers may also be added at this stage.
Setting Up the Spring System
Garage doors rely on either torsion or extension springs to balance the weight of the door. Proper tensioning of the springs is crucial for safe and efficient operation. Incorrect spring tension can lead to premature wear or dangerous malfunctions.
4. Connecting and Testing the Garage Door Opener
If you have an automatic garage door opener, it will be installed or reconnected at this stage.
Attaching the Opener Mechanism
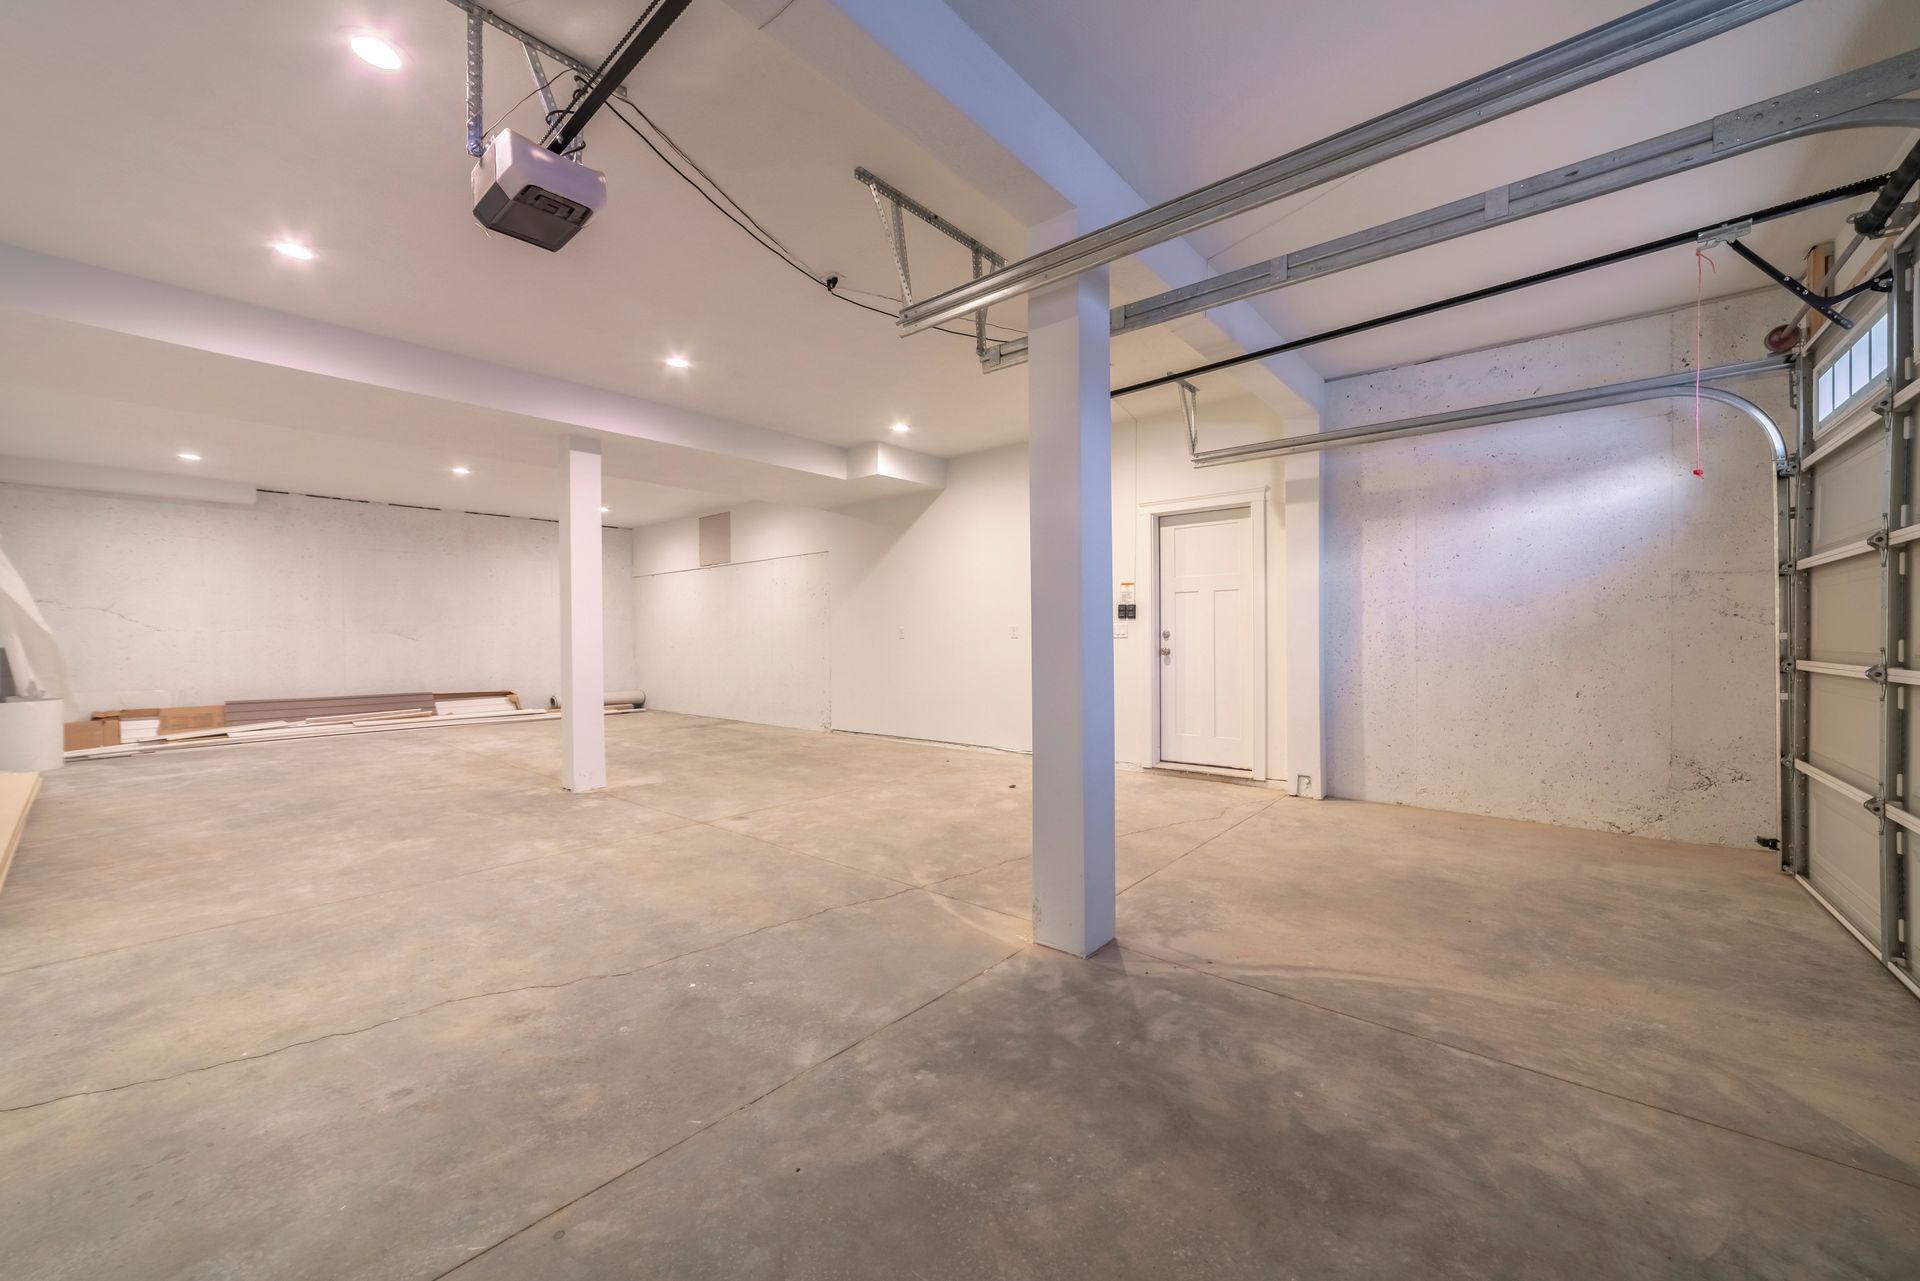
The opener is mounted to the ceiling and connected to the garage door via a drive system, such as a chain, belt, or screw drive. Belt drives are quieter, while chain drives are more affordable and durable.
Adjusting and Programming the Opener
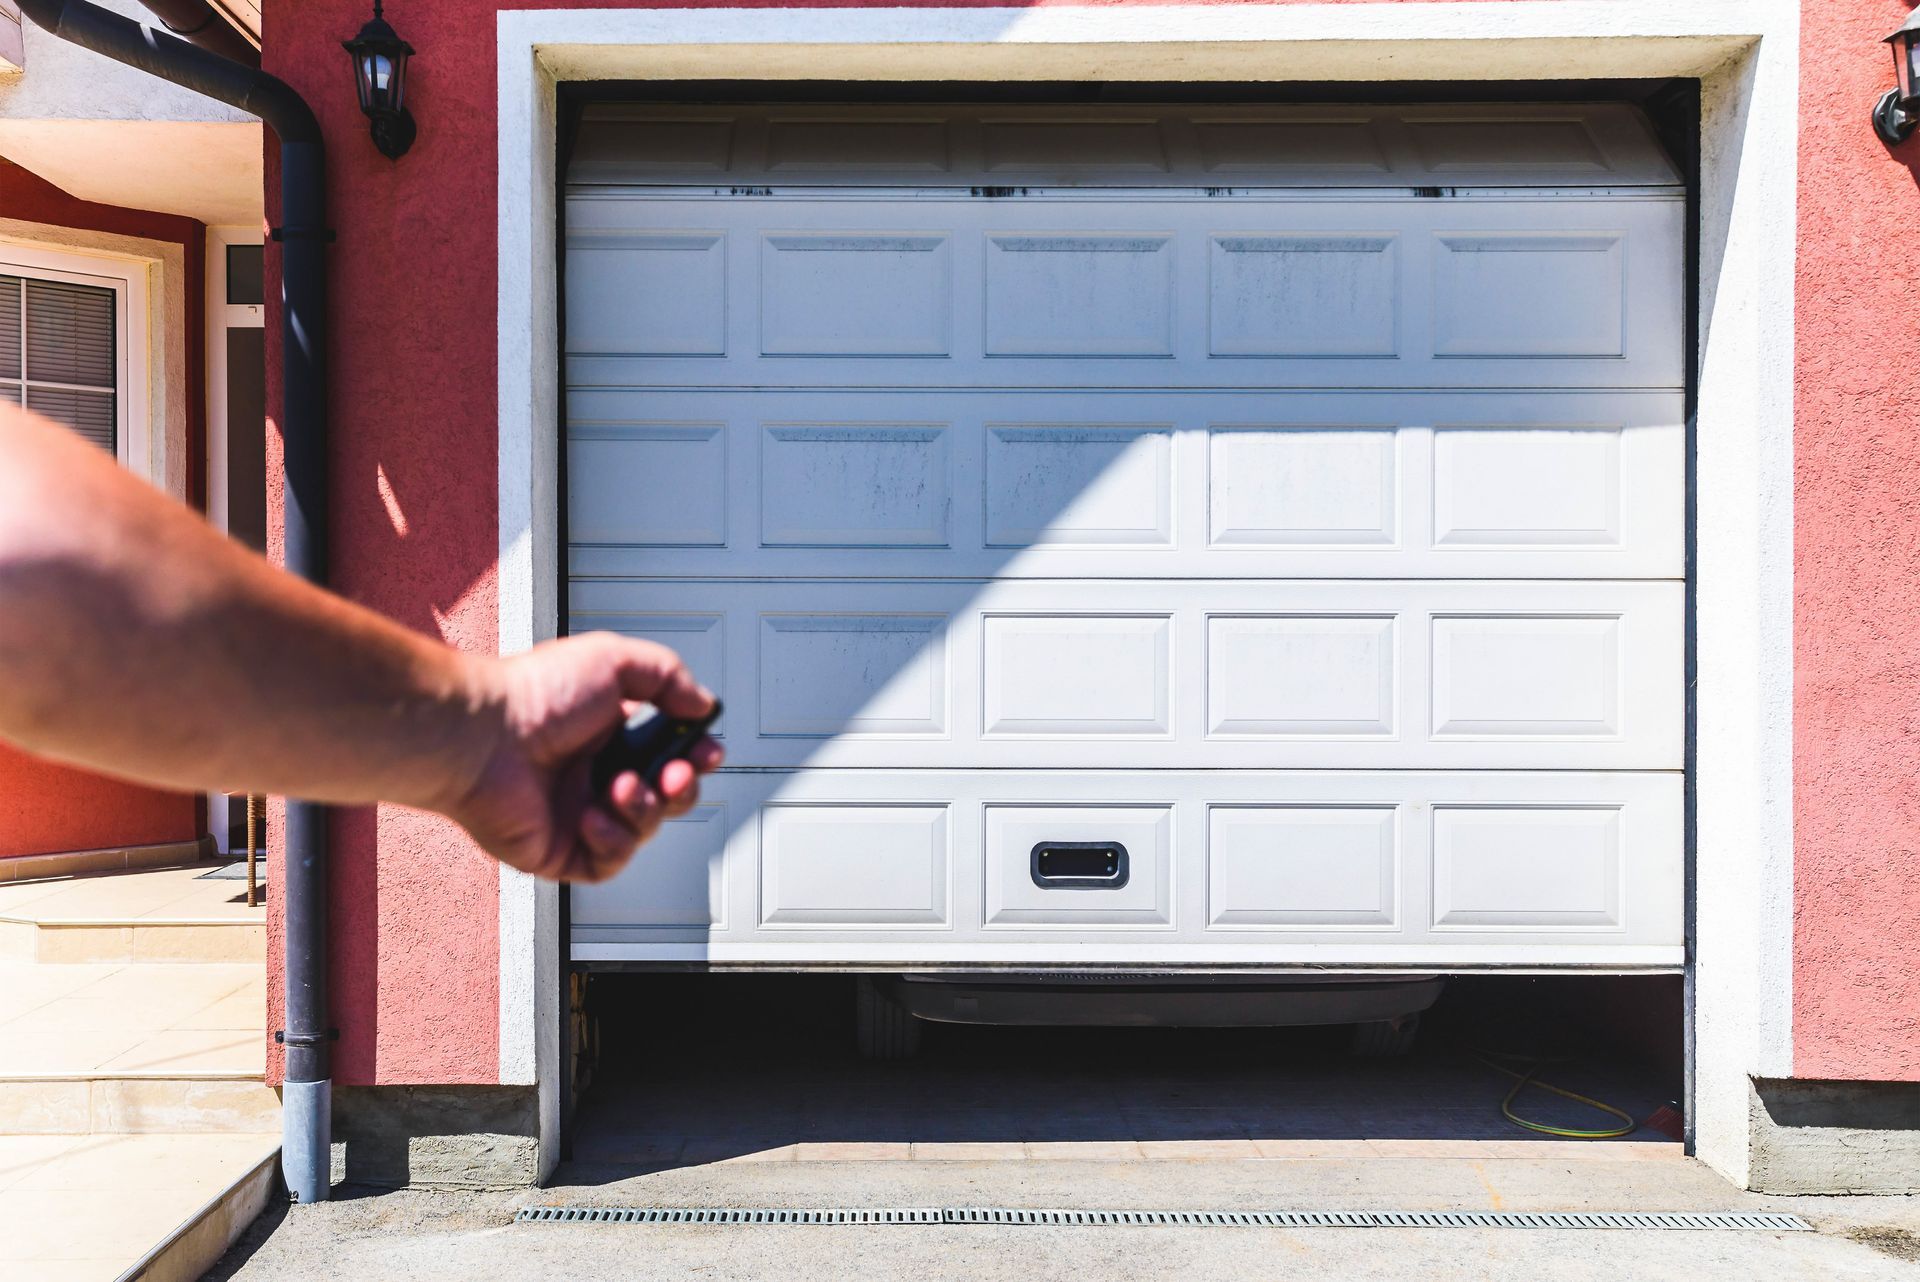
The opener settings will be configured to ensure smooth opening and closing. The safety features, such as auto-reverse and motion sensors, will also be tested. The installer will ensure that the opener responds correctly to remote commands and wall switches.
Testing the Emergency Release
An emergency release cord is an essential safety feature that allows manual operation in case of power failure. The installer will demonstrate how to use it properly.
5. Final Inspection and Maintenance Tips
Once the installation is complete, the installer will perform a final inspection to ensure everything is functioning correctly.
Safety and Performance Testing
The technician will test the door’s balance, alignment, and safety features. Any necessary adjustments will be made to guarantee optimal performance. This includes checking the door’s closing speed and ensuring that the weather sealing is effective.
Providing Maintenance Guidance
To help you get the most out of your new garage door, the installer will provide maintenance tips, including:
- Lubricating moving parts like hinges, rollers, and tracks every few months.
- Inspecting the springs and cables for signs of wear and tear.
- Testing the safety sensors to ensure they respond to obstacles.
- Keeping the tracks clean to prevent obstructions.
- Checking for loose hardware and tightening bolts as needed.
Regular maintenance helps your garage door last longer and avoids expensive fixes.
Cristo’s Garage Door for Expert Installation in Fresno, CA
A well-installed garage door boosts your home's safety, energy savings, and curb appeal. At
Cristo’s Garage Door, we specialize in professional garage door installation with top-quality materials and expert craftsmanship. Whether you need a replacement or a brand-new setup, our skilled team is here to help.
Call us today at
(559) 320-5158 to schedule your
residential or
commercial
garage door installation and repair in Fresno, CA, and experience superior service from a trusted overhead garage door company.
FAQs
What's the typical timeframe for installing a garage door?
Most garage door installations are completed within 3-6 hours, depending on the complexity of the job and whether an old door needs to be removed first.
Do I need to be home during the installation?
While it’s not required for you to be present the entire time, it’s recommended to be available at the start and end of the installation to discuss any questions or concerns with the technician.
Can I install a garage door myself?
Garage door installation is a complex and potentially dangerous task that requires specialized tools and expertise. It’s best to hire a professional garage door installation company to ensure safety and proper function.
What's the price range for installing a new garage door?
The cost varies based on factors such as door material, size, insulation, and additional features. Contact Cristo’s Garage Door for a personalized estimate.
How do I maintain my new garage door?
Regular maintenance includes lubricating moving parts, checking for worn-out components, keeping the tracks clean, and testing the auto-reverse safety feature periodically.
